How to Set-up Zoho Email Accounts Using IMAP on a Mac
Wade Mann from Holistic Web Presence, gives a step-by-step video tutorial on how to set up your Zoho email on your Apple Mail Application using the IMAP settings.
How to Set-up Zoho Email Accounts Using IMAP on a Mac
Step by Step Instruction of Setting Up Zoho Email Accounts on MAC Using IMAP
Hi, Wade here. I’m going to show you how to add your Zoho email to your Apple Mail Application using the IMAP settings. IMAP settings for any email are going to be fairly similar, but you’ll probably want to consult with that specific email setting to see what those configuration settings need to be. So this will be specifically for Zoho.
Step 1: Log in to Zoho Mail
Log on to Your Zoho Mail
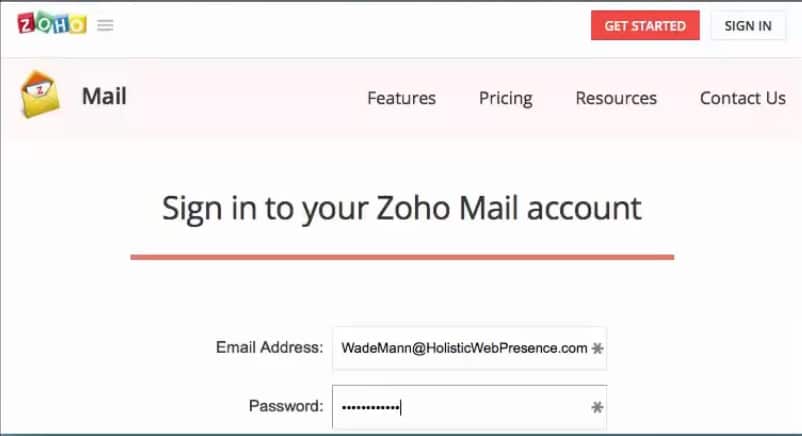
The first thing you want to do is you want to open your Internet browser and go and log in to Zoho. You want to sign in using your email and password. So first you need to go to settings right here and go to POP/IMAP. And what you want to do is, where it says IMAP access, you want to make sure that right here that it’s enabled. If it’s not, you want to click on that right there.
Step 2: Go to Your Apple Mail Application
Adding an Account Through Your Mac Mail Application
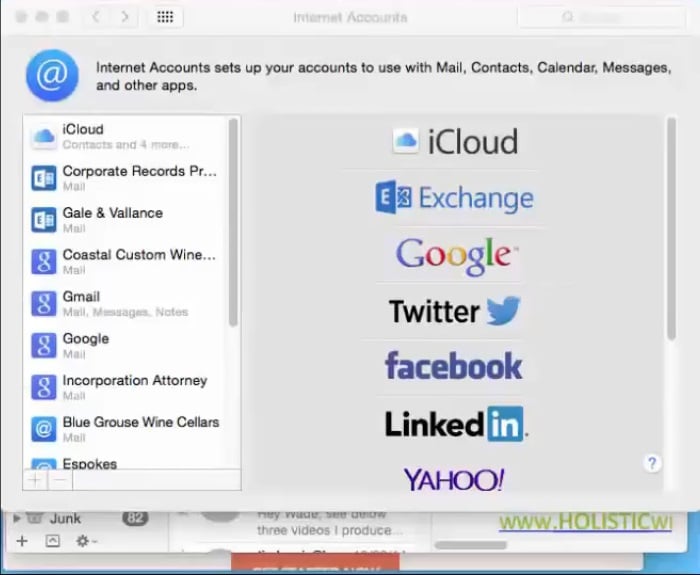
The next thing you do is you want to go to your mail application. Now, you’ll see these are my mailboxes. I’ve got a lot of email accounts that I monitor. So what you do is you go up right here to mail – up here on the top corner, and go to accounts. Now, this lets you add email accounts – lots of different types. You’d do a Google account. You could have a Facebook account that you can monitor in your mail inbox there. In this case for Zoho, we’re going to add another account. And this top right here (add a mail account), and then do “Create”.
For full name, you want to put the name of the person who you want to show up on all the emails. So when you send an email, there’s always a name associated with the email. So whatever name you want to associate with that email, you want to make sure that that’s right there.
And then here you want to put what the email address is going to be. So I put that Zoho email address in. And then you put the password. And go “Create”.
And then it says, “the account must be manually configured”. And so then do “Next”. Alright, make sure that this is on IMAP (that part is dark). There’s either IMAP or POP. You want to be on IMAP. And this is a mail server and this is for the incoming mail server info options. So for this part right here, we want to put in these exact letters and periods right there. This “imap.zoho.com” is exactly as I’ve written it.
For the username, you want to put in the email address. Then go “Next”.
And then for the outgoing mail server info, you want to put in this exact phrase right here: “smtp.zoho.com”, and then push “Create”.
So after you push “Create”, you’ll see your account show up.
Problem You Might Encounter in Setting Up Your Zoho Mail
Little Triangle – Error in Connecting Your Zoho Mail
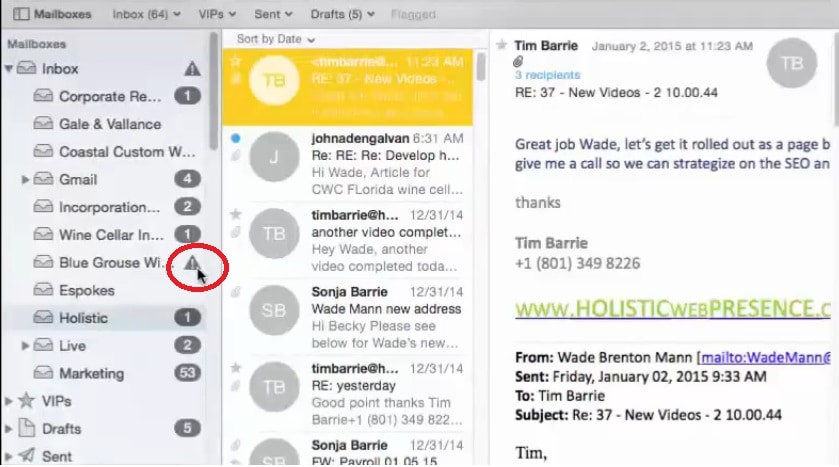
If you see this little triangle, that means that there’s a problem. For some reason, it’s not connecting. So what you can do is right-click on the account. You can go to “Edit”. And what you want to do is go to “Advanced”. And what you want to make sure is that this port says, “993”, and that that little use SSL is check-marked. Hopefully, that will work.
If you have any problems, let me know! Thanks! Bye!